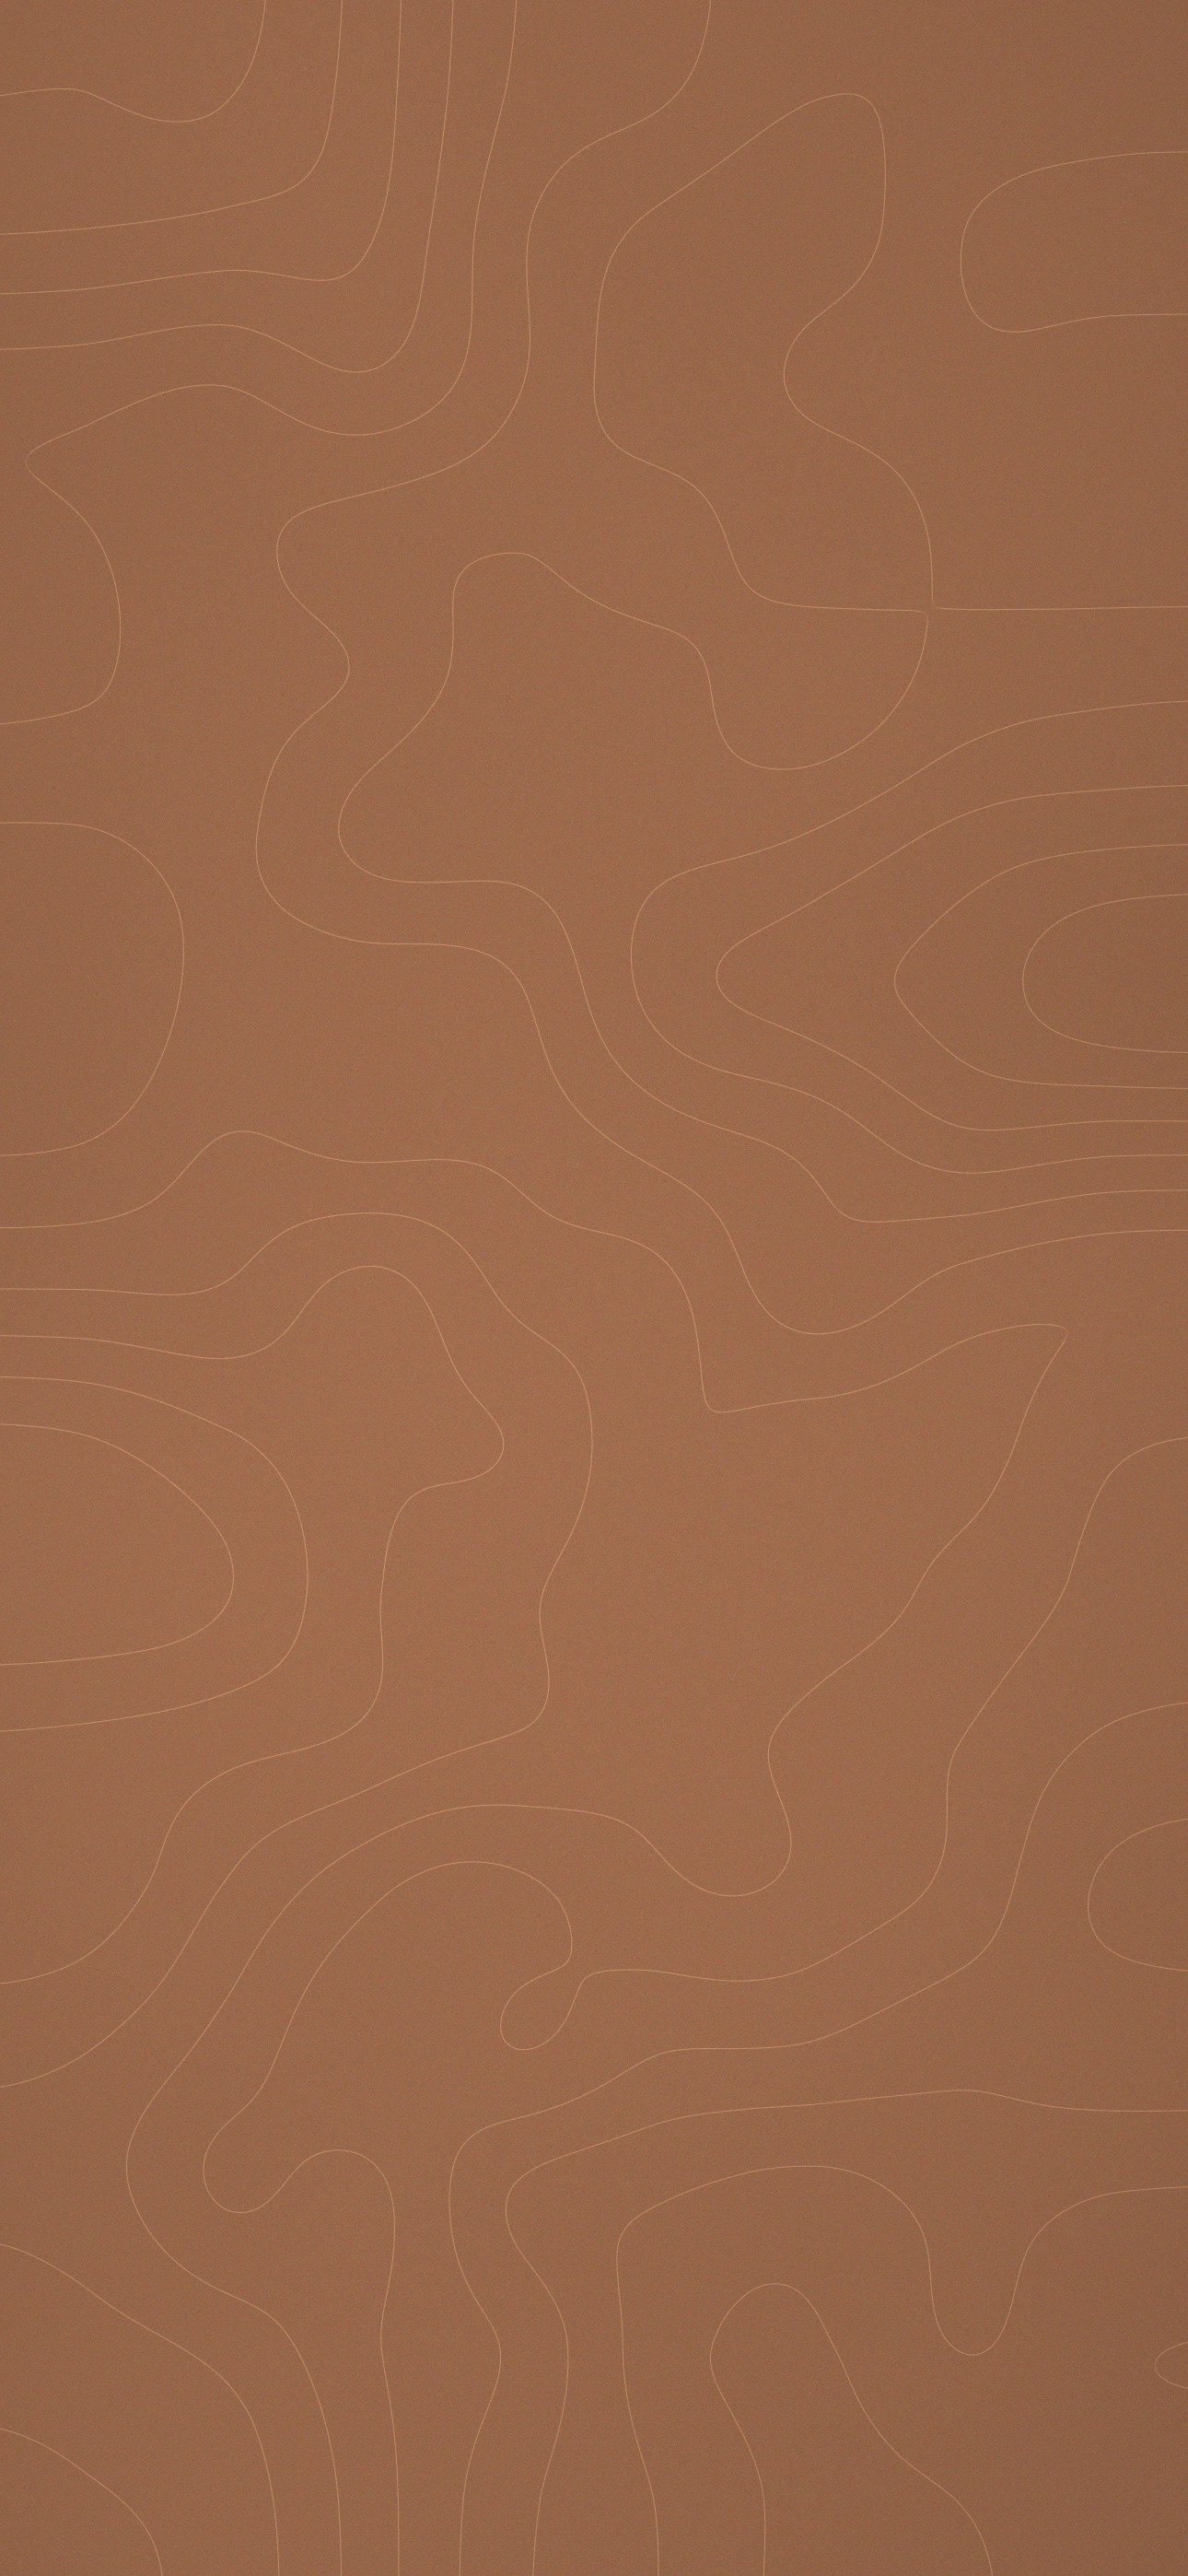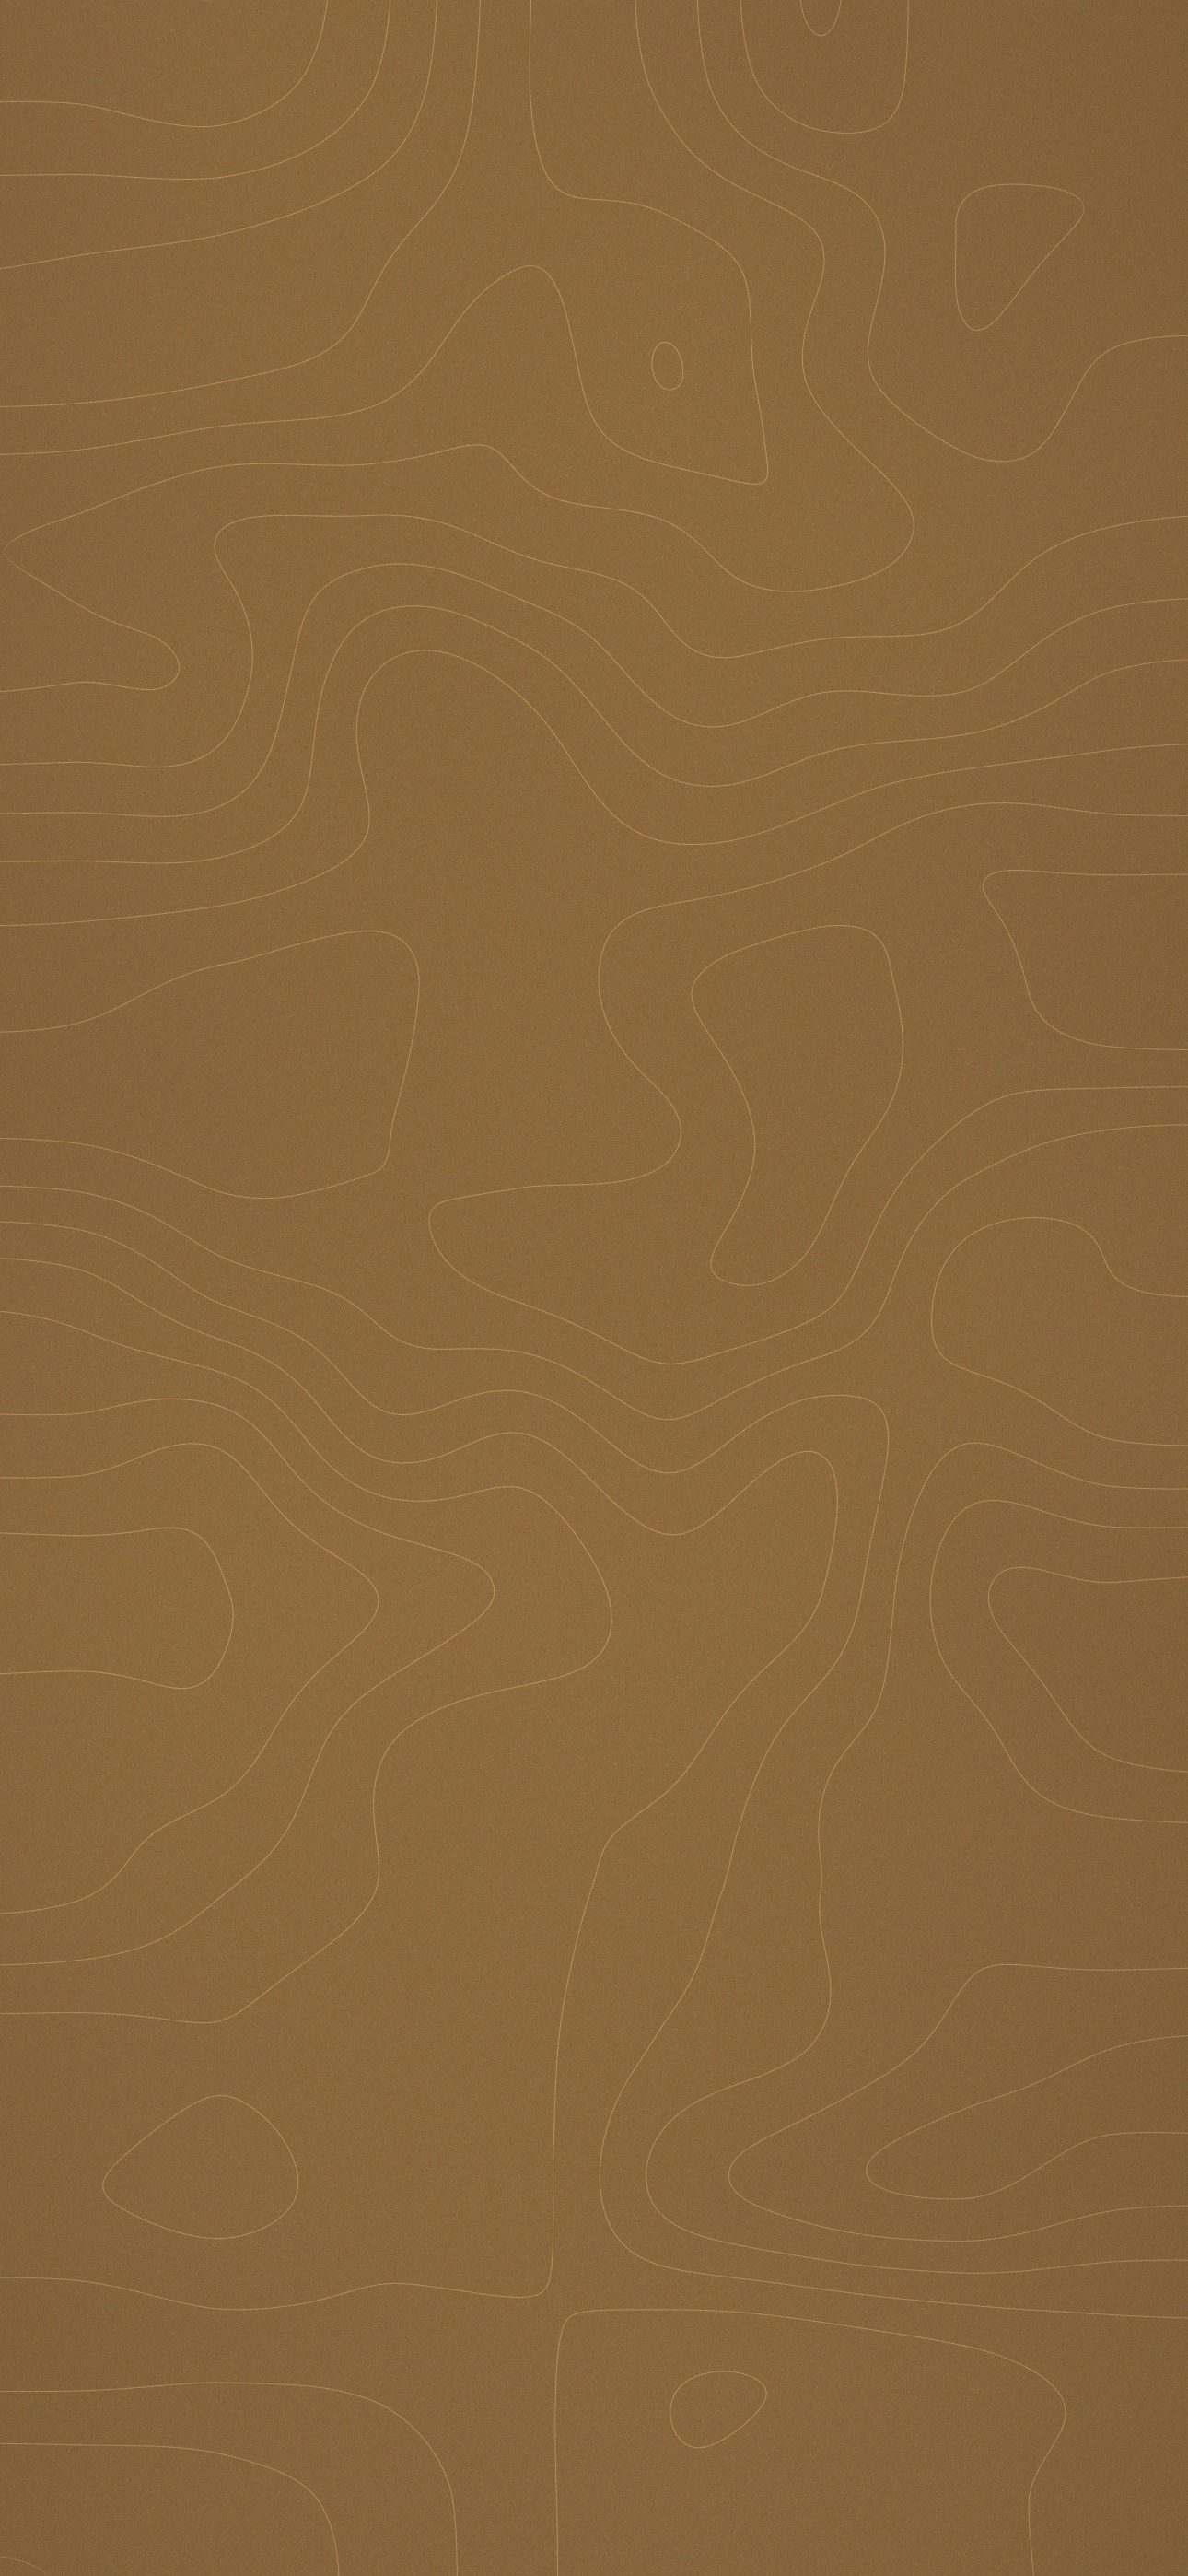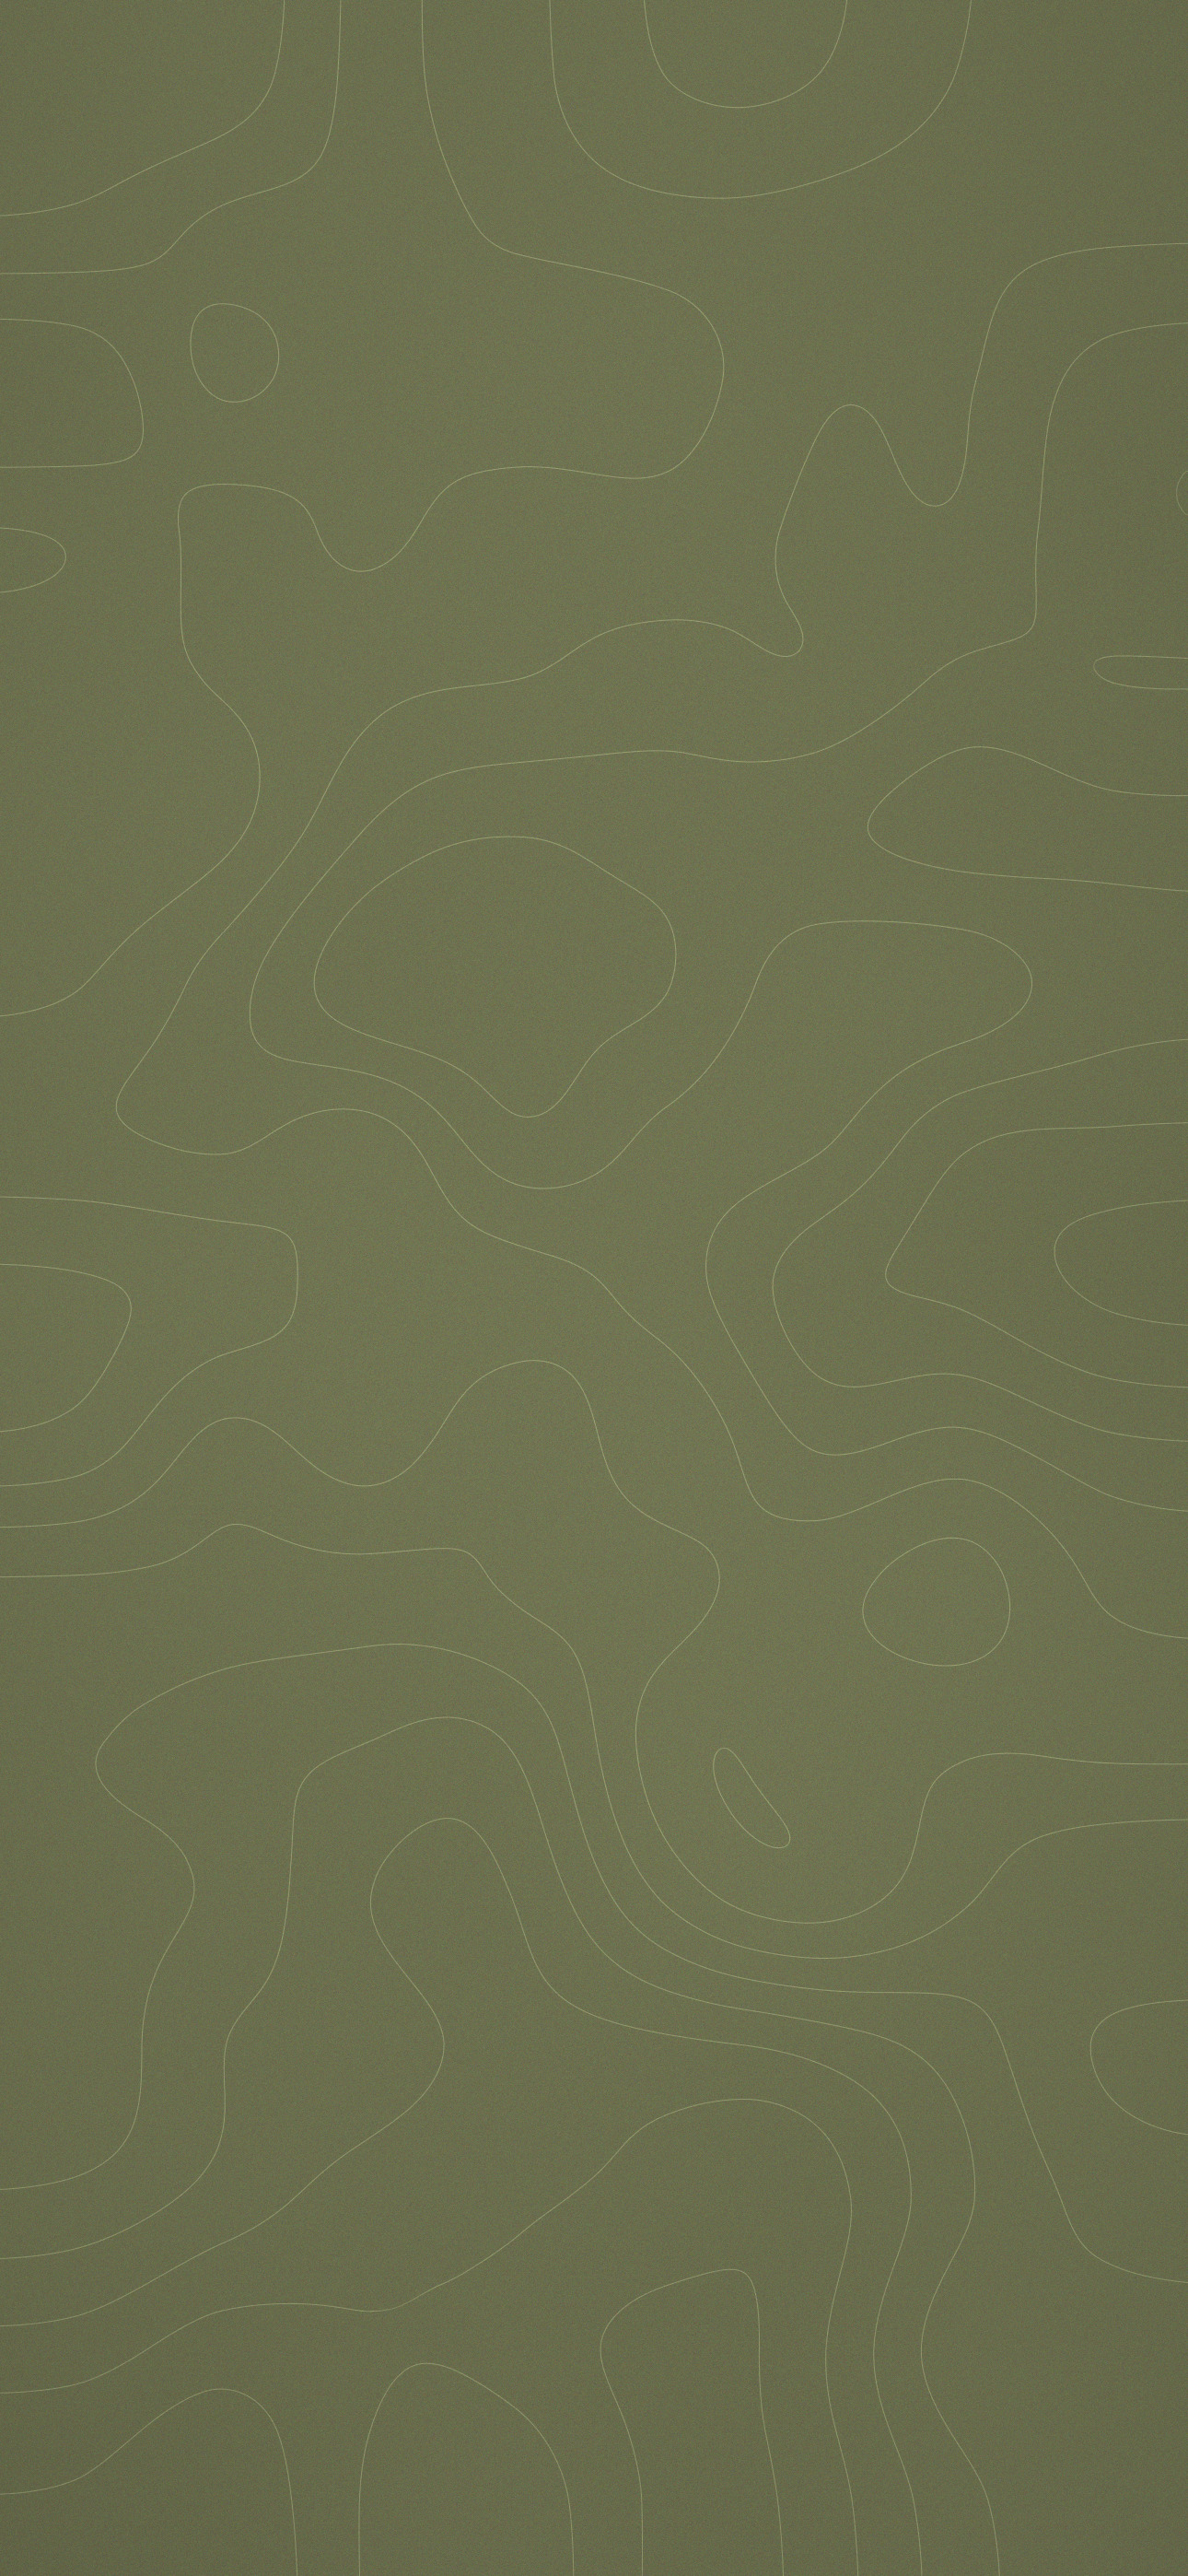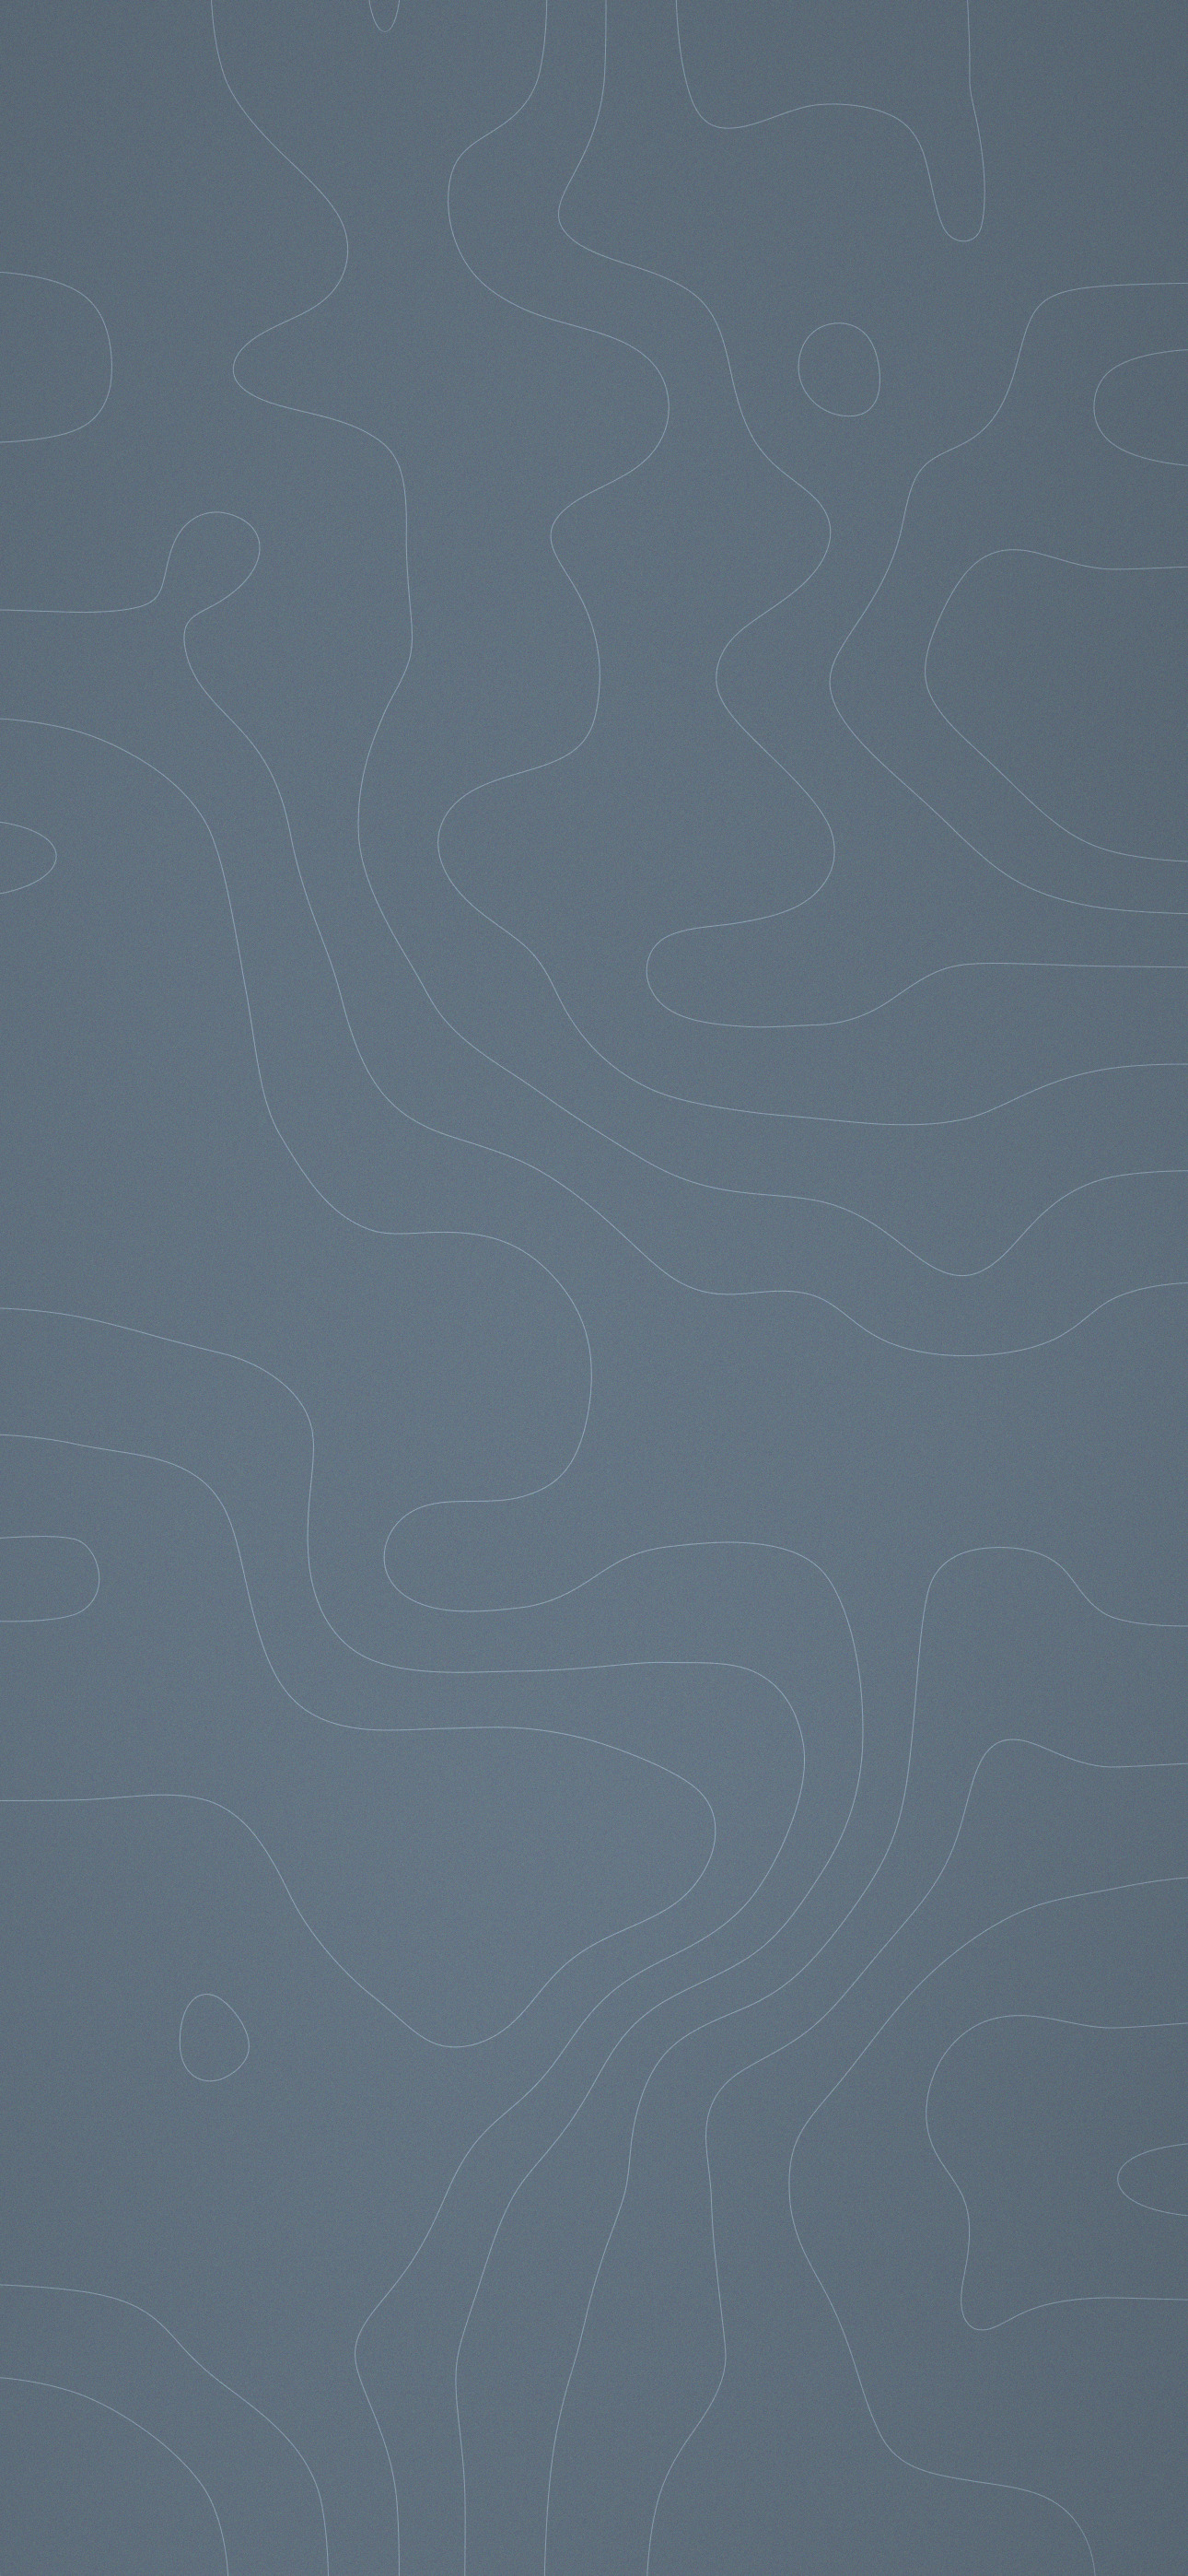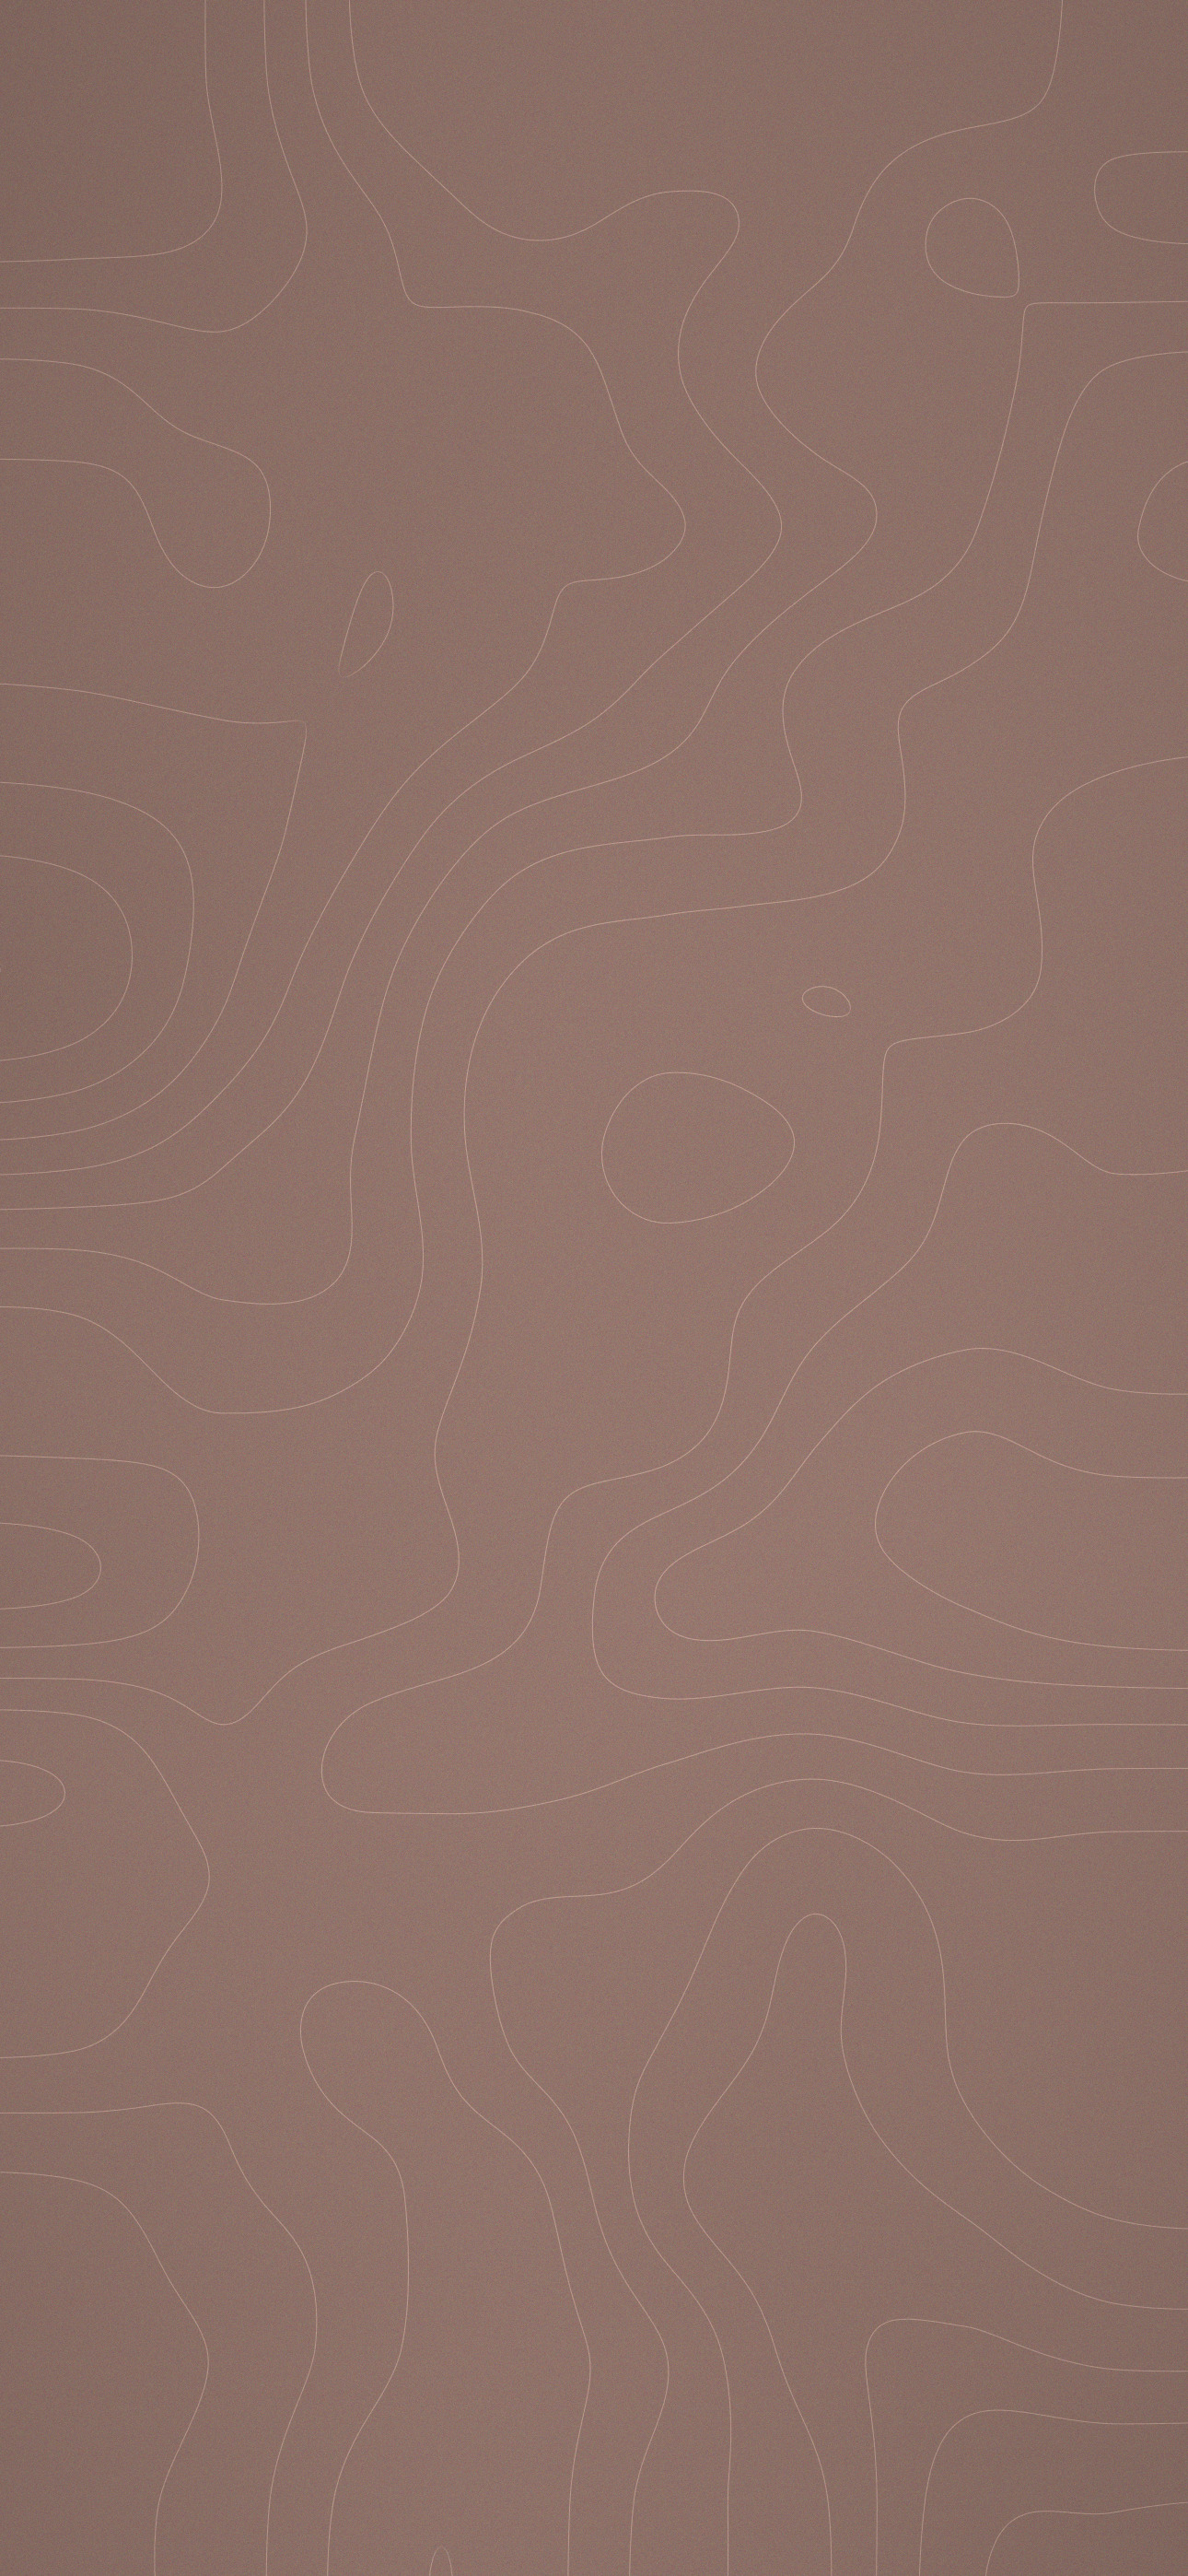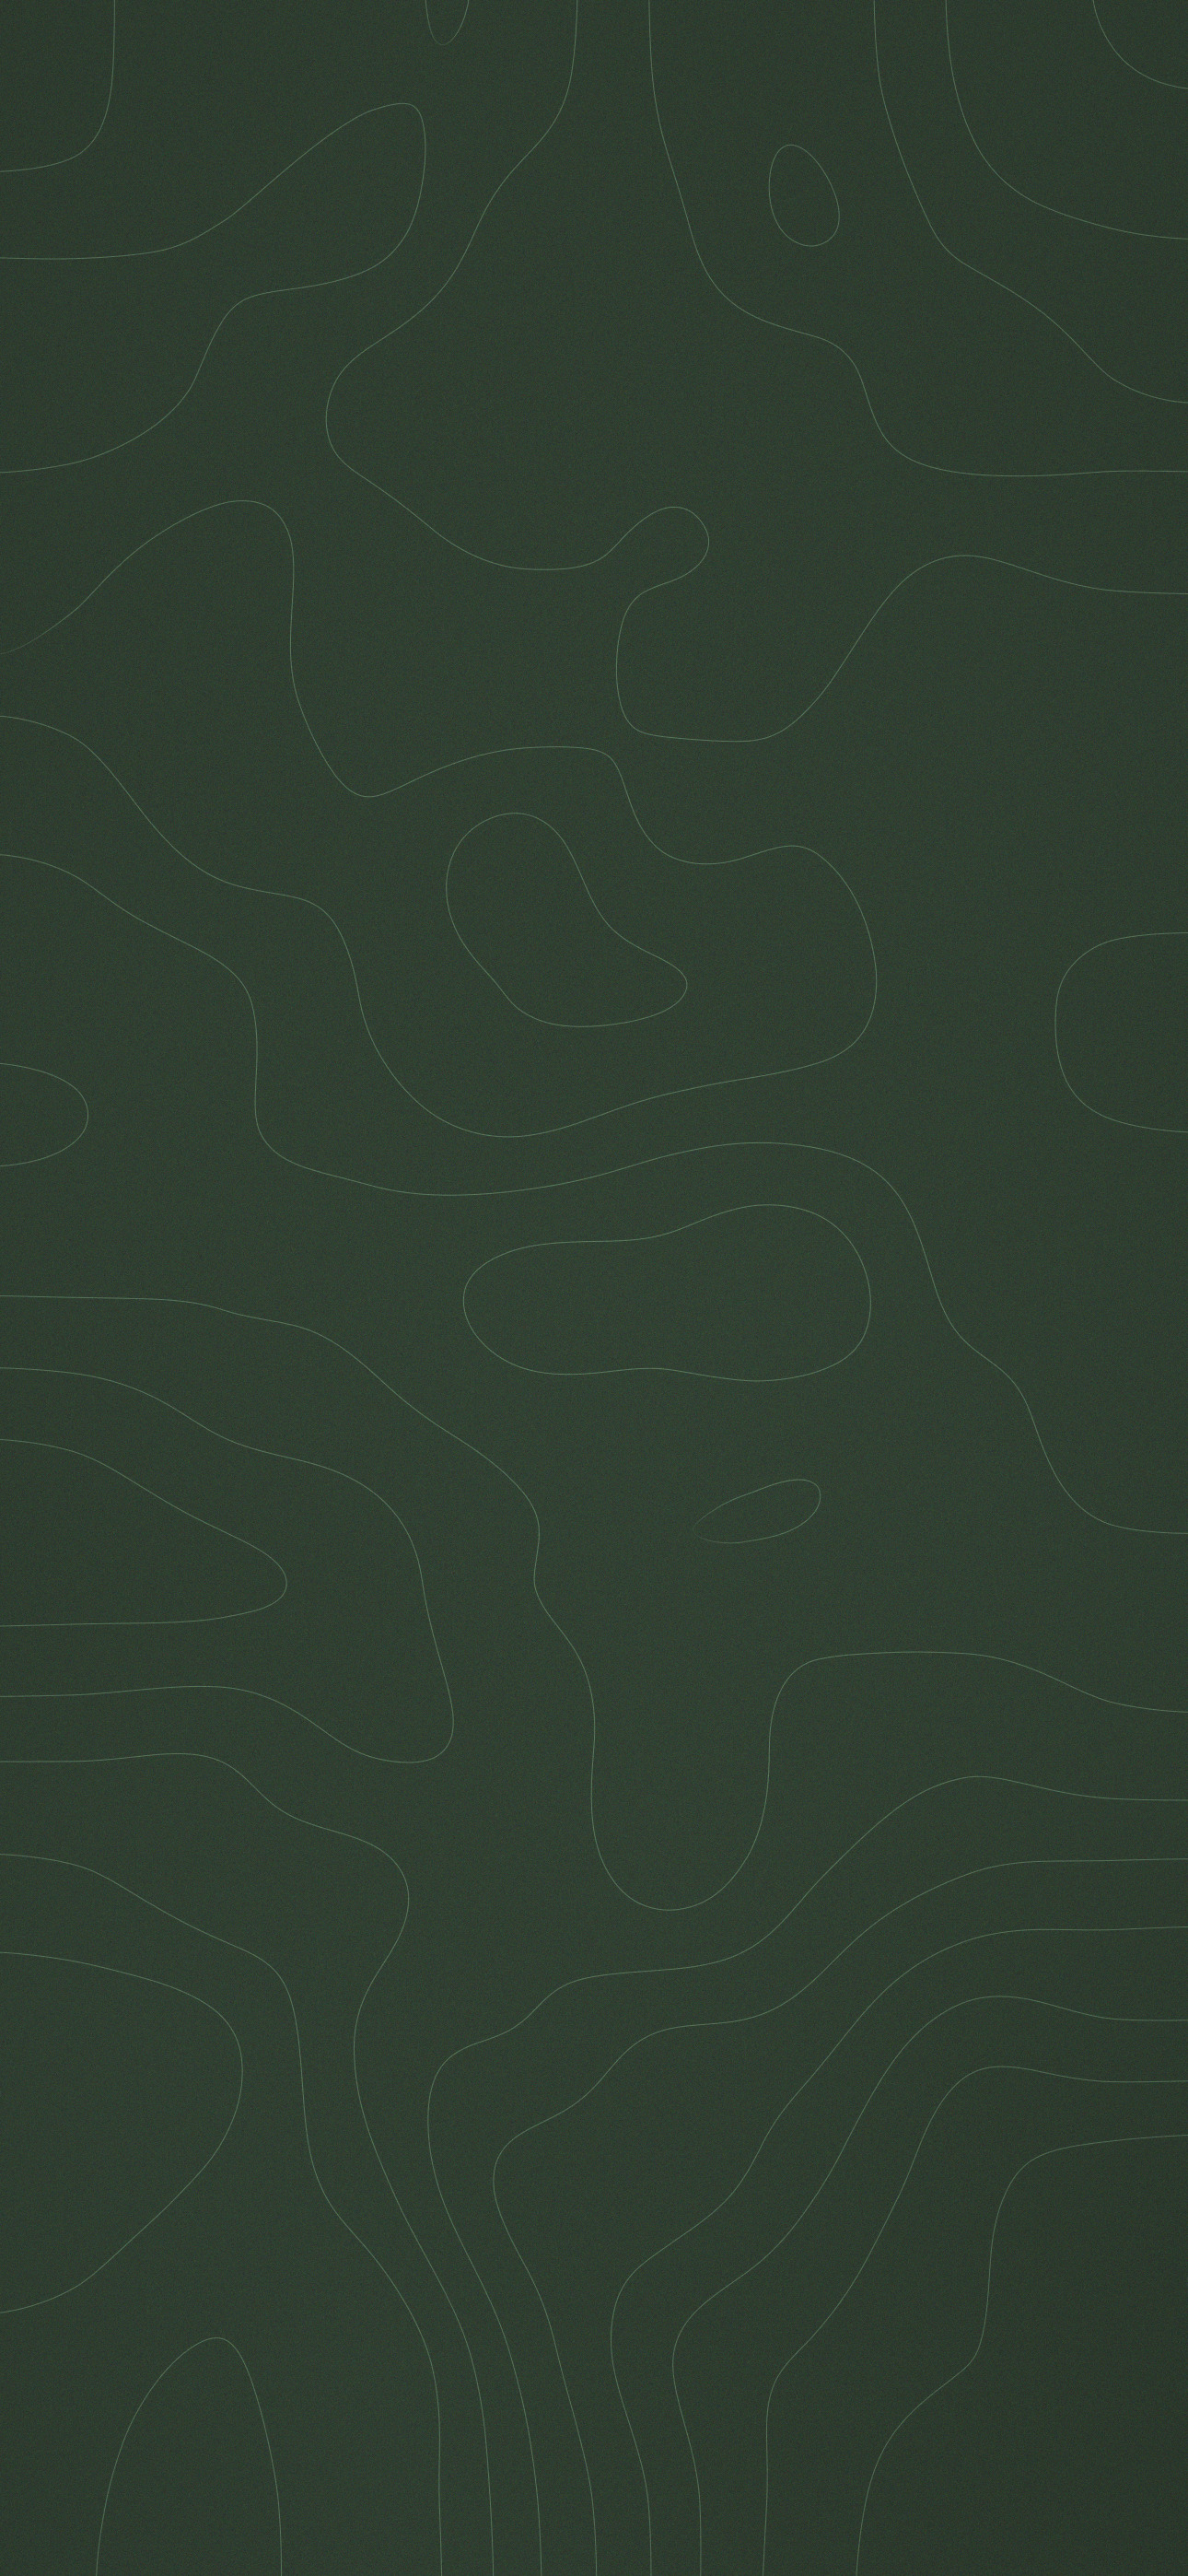
1290×2796,竖版,无字、无水印、无二维码。
iPhone 17 Pro 是 2622×1206(比例几乎一致),直接设过去基本不裁切;往小机型缩也不糊。
点任意一张下载该色原图。手机上如果直接打开了预览,长按保存即可。
等高线不是画的,是算的:一层分形噪声当高程图,再取等值线。 下面这两个函数就是全部原理,复制下来能直接跑,只依赖 numpy 和 Pillow。 想要别的配色,改 bg / line 两个值就行。
import numpy as np
from PIL import Image


def fbm(w, h, rng, octaves=3, base=2, persistence=0.45):
    """分形噪声当高程图:低分辨率白噪声,逐层放大再叠加。"""
    field = np.zeros((h, w), np.float32)
    amp, total = 1.0, 0.0
    for o in range(octaves):
        rx = base * 2 ** o
        # 网格按画幅比例,否则图案会被纵向拉长
        ry = max(2, round(rx * h / w))
        noise = rng.random((ry, rx)).astype(np.float32)
        # float32 全程;中途落成 8bit,线就成锯齿了
        up = Image.fromarray(noise).resize((w, h), Image.BICUBIC)
        field += amp * np.asarray(up, np.float32)
        total, amp = total + amp, amp * persistence
    field /= total
    return (field - field.min()) / (np.ptp(field) + 1e-6)


def contour_alpha(field, levels, line_width=2.0):
    """等值线的覆盖率:0 = 底色,1 = 线色。"""
    t = field * levels
    s = t - np.floor(t)
    d = np.minimum(s, 1 - s)        # 到最近等值线的高程距离
    gy, gx = np.gradient(t)
    grad = np.hypot(gx, gy) + 1e-6  # 每像素的高程变化率
    # 除以梯度 = 换算成屏幕像素距离,线宽才处处一致
    a = np.clip(1 - (d / grad) / (line_width / 2), 0, 1)
    # 再压掉山顶/盆地上 0/0 算出来的色斑
    return a * np.clip(grad / np.percentile(grad, 6), 0, 1)


if __name__ == "__main__":
    W, H = 1290, 2796
    rng = np.random.default_rng(20260828)
    a = contour_alpha(fbm(W, H, rng), 11)[:, :, None]
    bg = np.float32([107, 114, 86])
    line = np.float32([147, 156, 119])
    img = bg * (1 - a) + line * a
    img += rng.normal(0, 5.0, (H, W, 3))    # 胶片颗粒
    img = np.clip(img, 0, 255).astype(np.uint8)
    Image.fromarray(img).save("out.jpg", quality=92)
完整版多了三样:8 个配色的参数表、胶片颗粒和暖调偏移、以及一道抹掉插值抖动的平滑。 跑一次 1.9 秒,8 张一起出。随机种子固定,同一版本重跑逐像素一致。